It didn’t take me very long to take my Silhouette out of the box. I had been waiting for a machine like this for years so I couldn’t wait a minute longer. The machine runs through a computer so I needed to install some software and get things all set up before I could make my first official cut. Luckily, setup didn’t take long and I was cutting fun shapes in a matter of minutes!
 I just wanted to keep cutting things! // Personal photos
After some playing, it was time to get down to business. When I was first contemplating the value of purchasing the Silhouette, I immediately thought of our invitations and the different pieces I could make using the Silhouette. Mr. PB and I both like pocketfold invitations but I couldn’t believe the cost of just the pocketfold. Most places sell pocketfolds from about $0.70 to $0.90 each. If I could cut a pocketfold with the Silhouette, that means I could just purchase packs of charcoal gray 12″x12″ paper and use that. A pack of 25 sheets of paper runs about $9, which equals out to about $0.36 per pocketfold – just about half price! The only problem with this idea – I would need to create the template in the Silhouette software for the pocketfold. It was definitely a learning process and took me a couple hours. (Note: pay no attention to the paper colors; they were just what I had on hand.)
 The first attempt failed thanks to a tiny flap, the second version fixed the flap but the inside wasn’t right and finally, the third time was a charm! // Personal photos
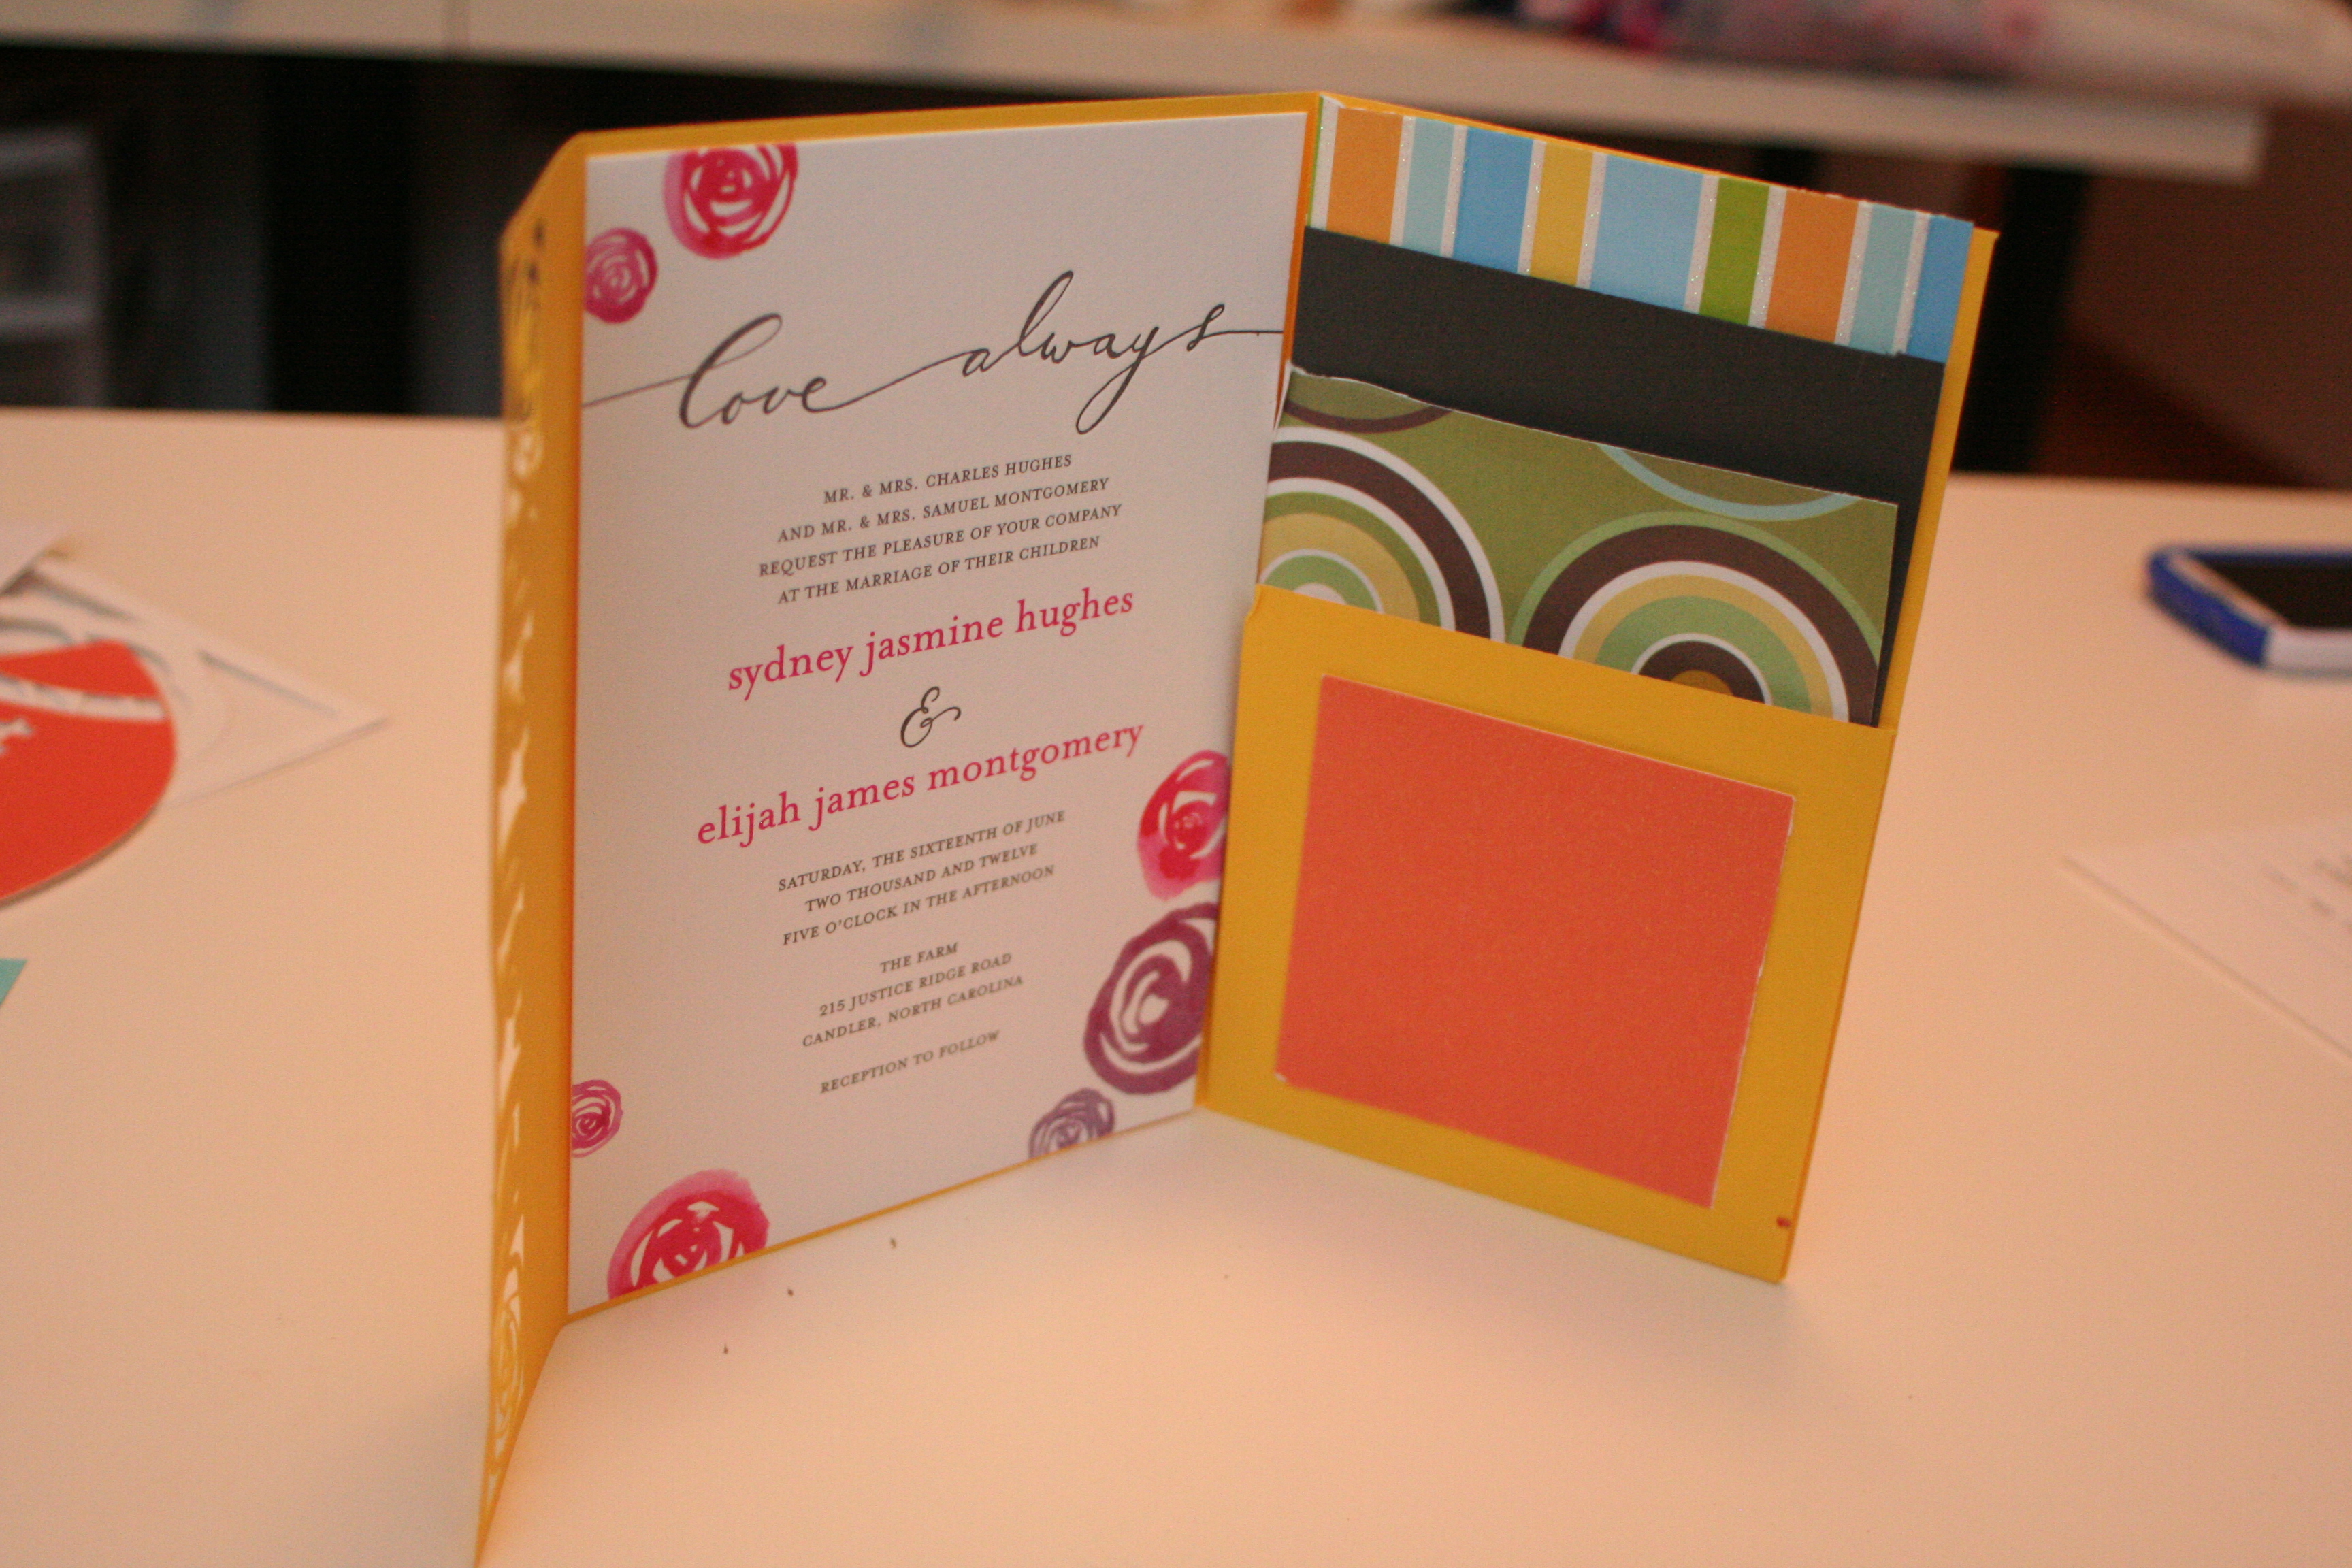 I used scrap paper as a visual to figure out how things would fit and a sample invitation I received in the mail as a placeholder. // Personal photo; Invitation: Wedding Paper Divas
After getting the template figured out, I figured I needed to jazz things up a little. If I have a machine that can cut intricate designs, why not use it to the fullest advantage?
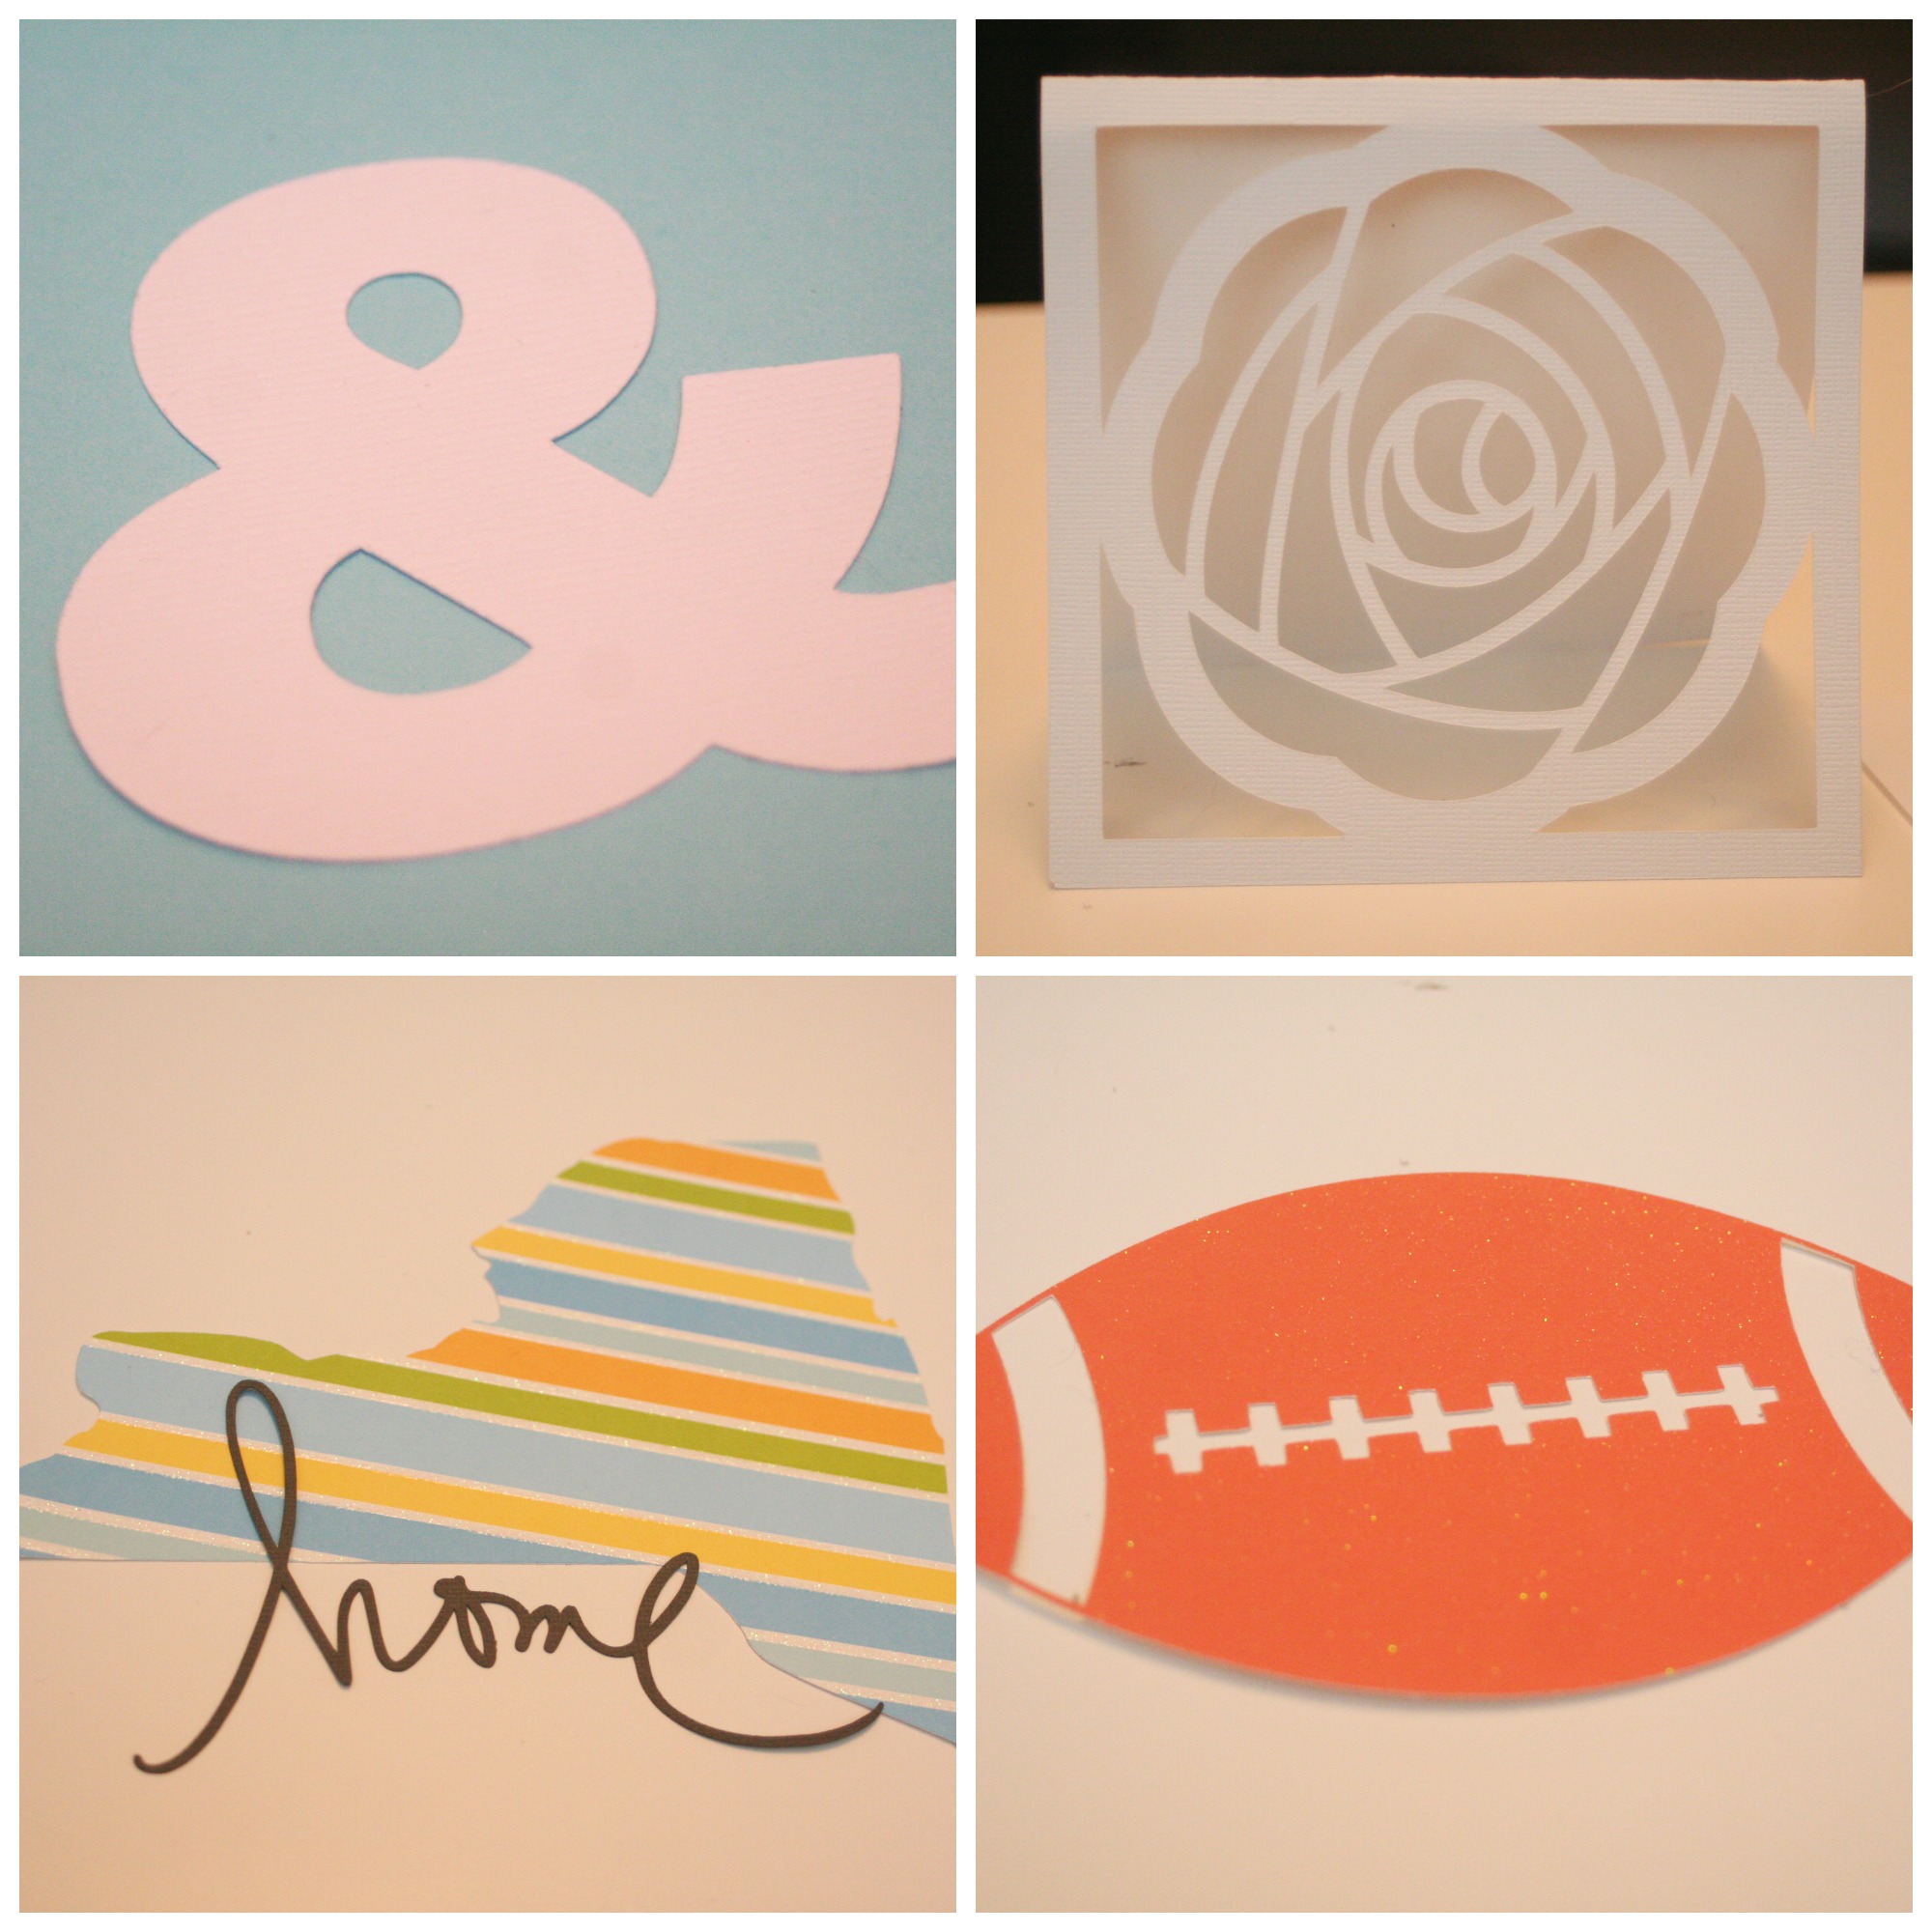
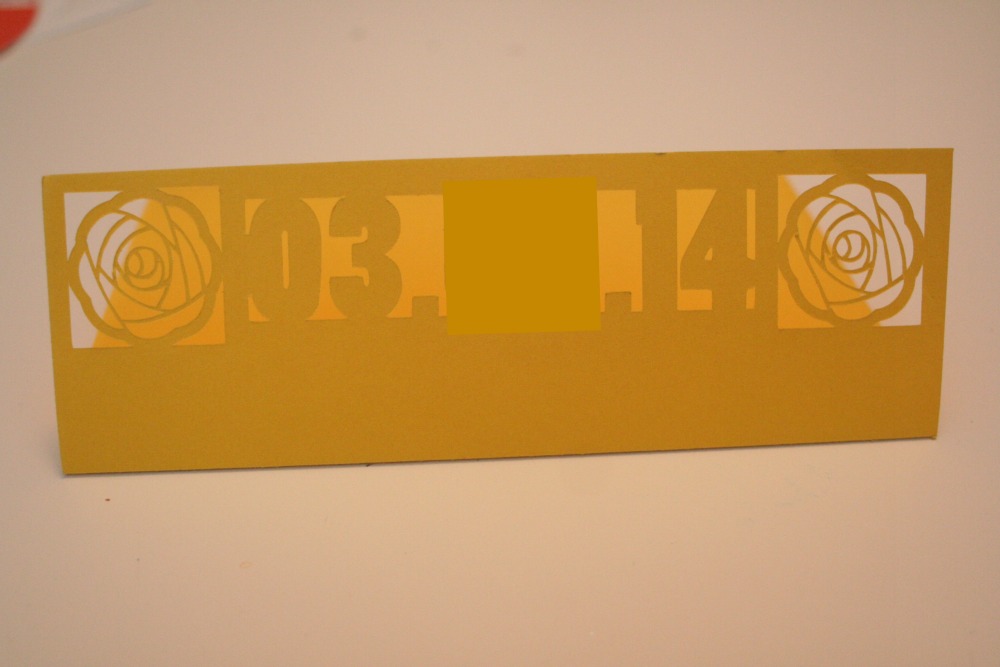 I thought about adding our date into the flap, along with some roses (which will probably appear in the invites)… // Personal photo
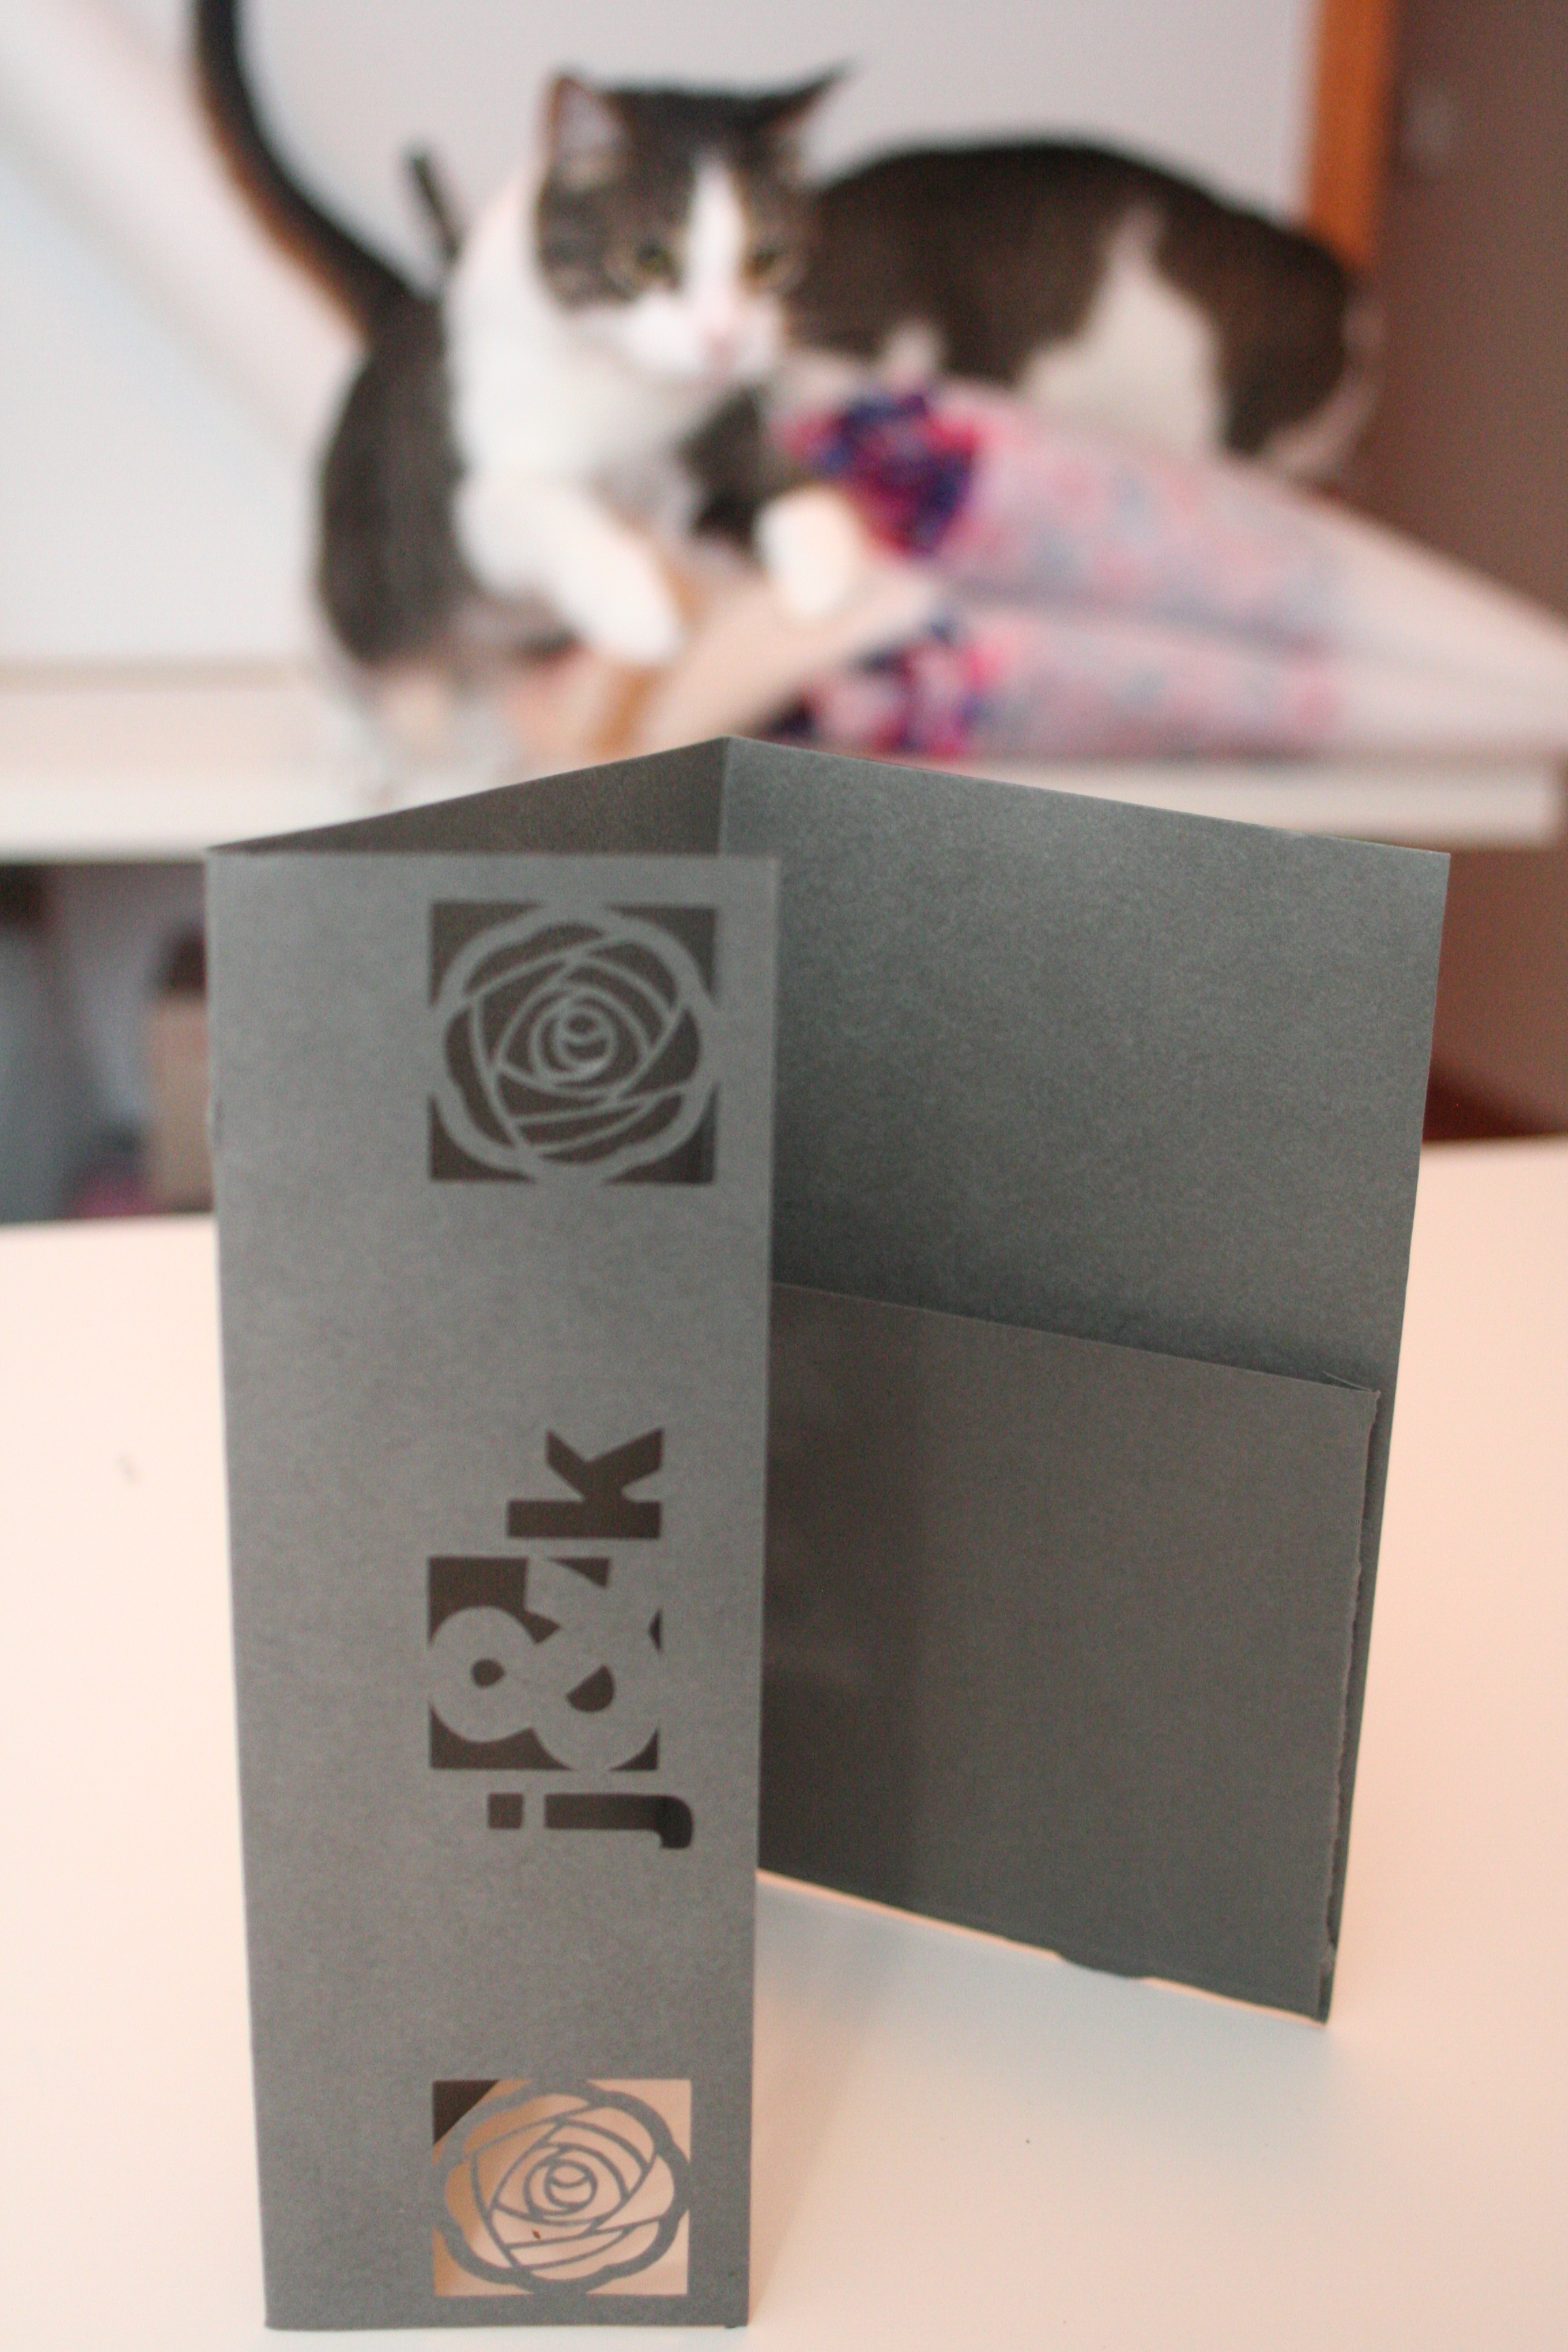 Or maybe our initials and an ampersand would work better… (Belle was jumping for joy at this one) // Personal photo
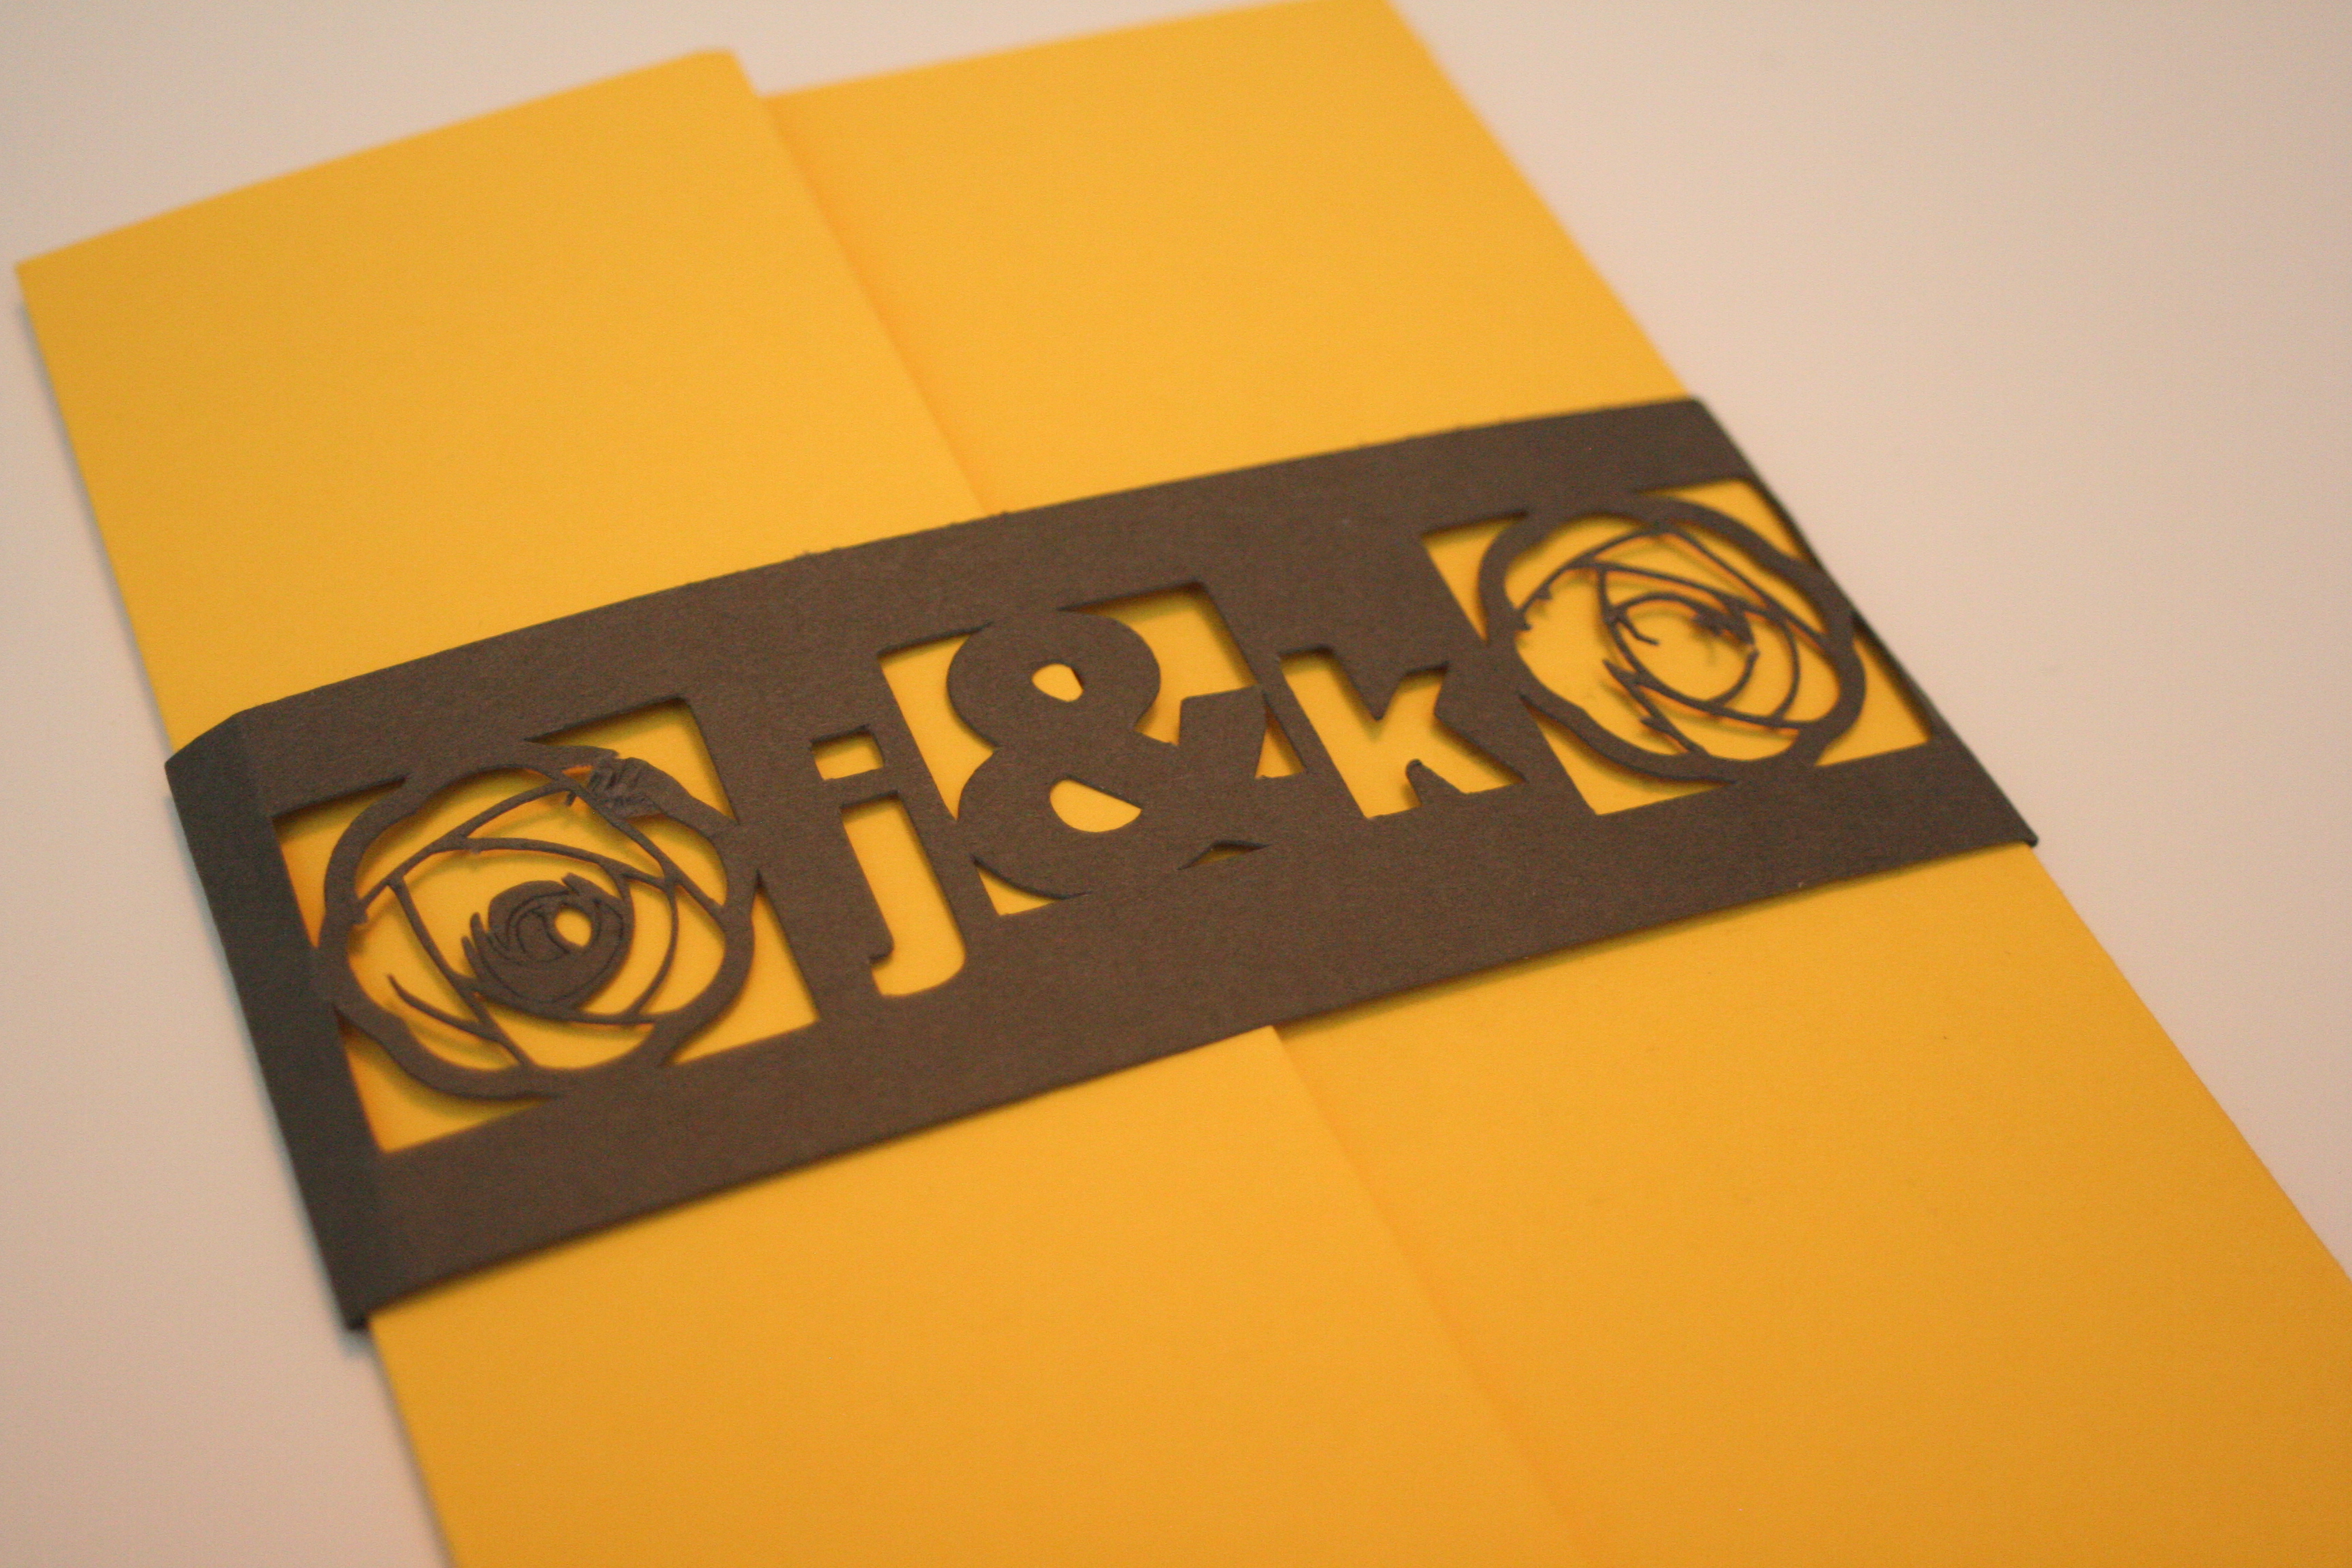 Or maybe a belly band with the detail would be nice (don’t mind the wonky flowers – I didn’t have it on the right setting) // Personal photo
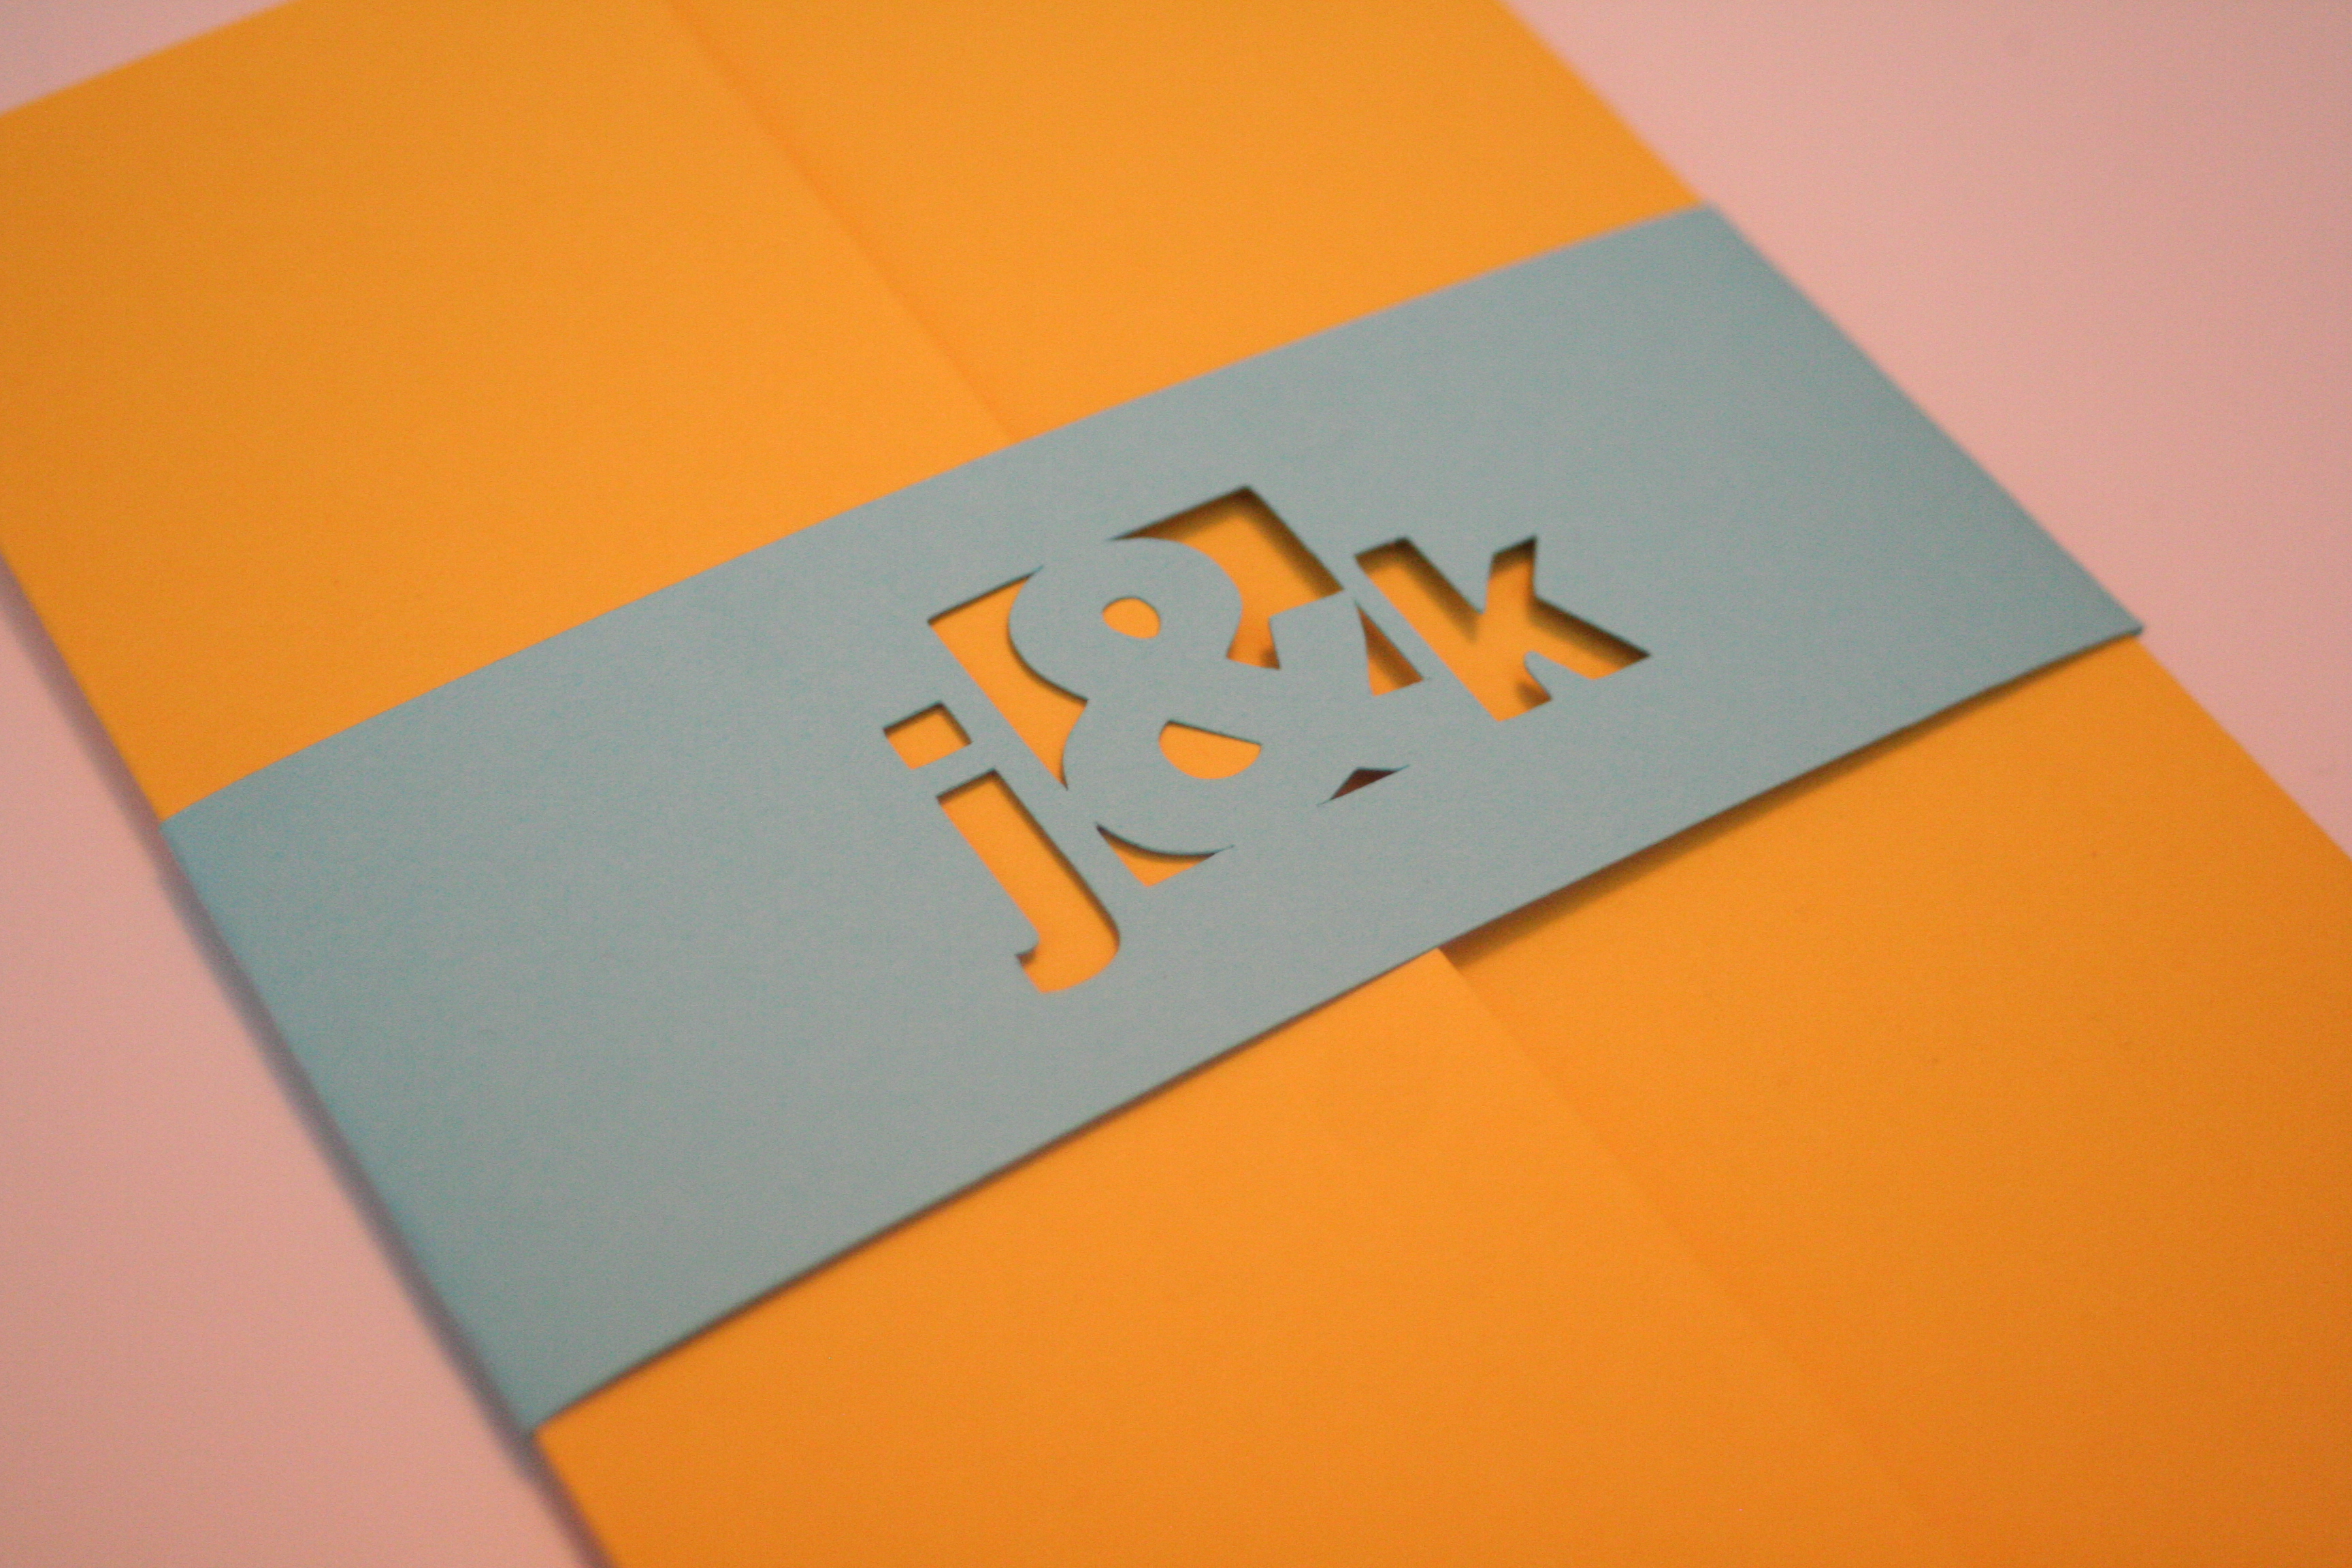 Or maybe sticking with just our initials and an ampersand in the belly band. // Personal photo
So what do you think? Are you feeling the cutouts in the flap of the pocketfold or is the belly band the way to go? Am I crazy for taking DIY to another level by cutting my own pocketfolds?